For the Grand Island Northwest High School content creation team, Canva is an essential tool for our content. Whether we use its large selection of templates or create from scratch, Canva is our favorite tool to make posts. This blog takes a deep dive into our approach and process for creating social media content, using a gameday post for our football team as an example.
Creating a New Design
When I open Canva, I select the Create a New Design button and choose Instagram Post. (This is a perfect size that works for all our school social media platforms.)
When staring at a blank page, it’s often hard to figure out how to start. Canva can help with this or you can let your creativity run wild. You can select the Template tab in the top left and look up a topic (in this case, football). However, for this post, I didn’t use any templates. I wanted to use my own ideas, as it was one of the last high school football posts I would ever make.
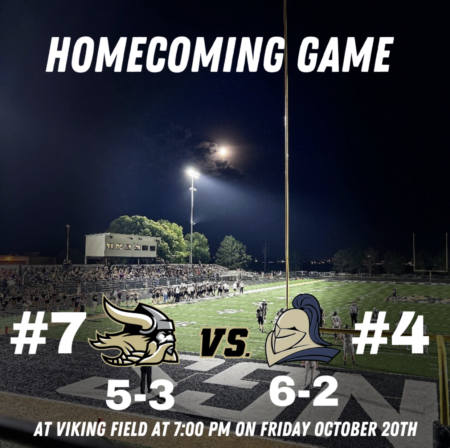
I needed to choose a background. I pondered for a while before deciding to use a picture taken at one of our recent games and sent to me by another student. This provided a dark, cool background that’s not only easy on the eyes, but also aesthetically pleasing. The image showcases our beautiful Viking Field and shows the electricity of our home games.
Adding Context & Details
Now I just have a picture, so I need to add some information about the game. At the top of the image, I add text to highlight that it’s our Homecoming Game. Then, at the bottom, I add the info on where the game is and when it starts. This informs our readers and is an essential to every sporting event post.
Now we need to represent the teams. I add both the Northwest and York logos from my logos tab (which features just about every logo from each school in the state). Then I try to think about what else is important to fans. This game was the last game of the season and rankings were very important for the playoffs. I decided to put both schools’ records below the logos, then add their rankings to the side.
Editors Note:
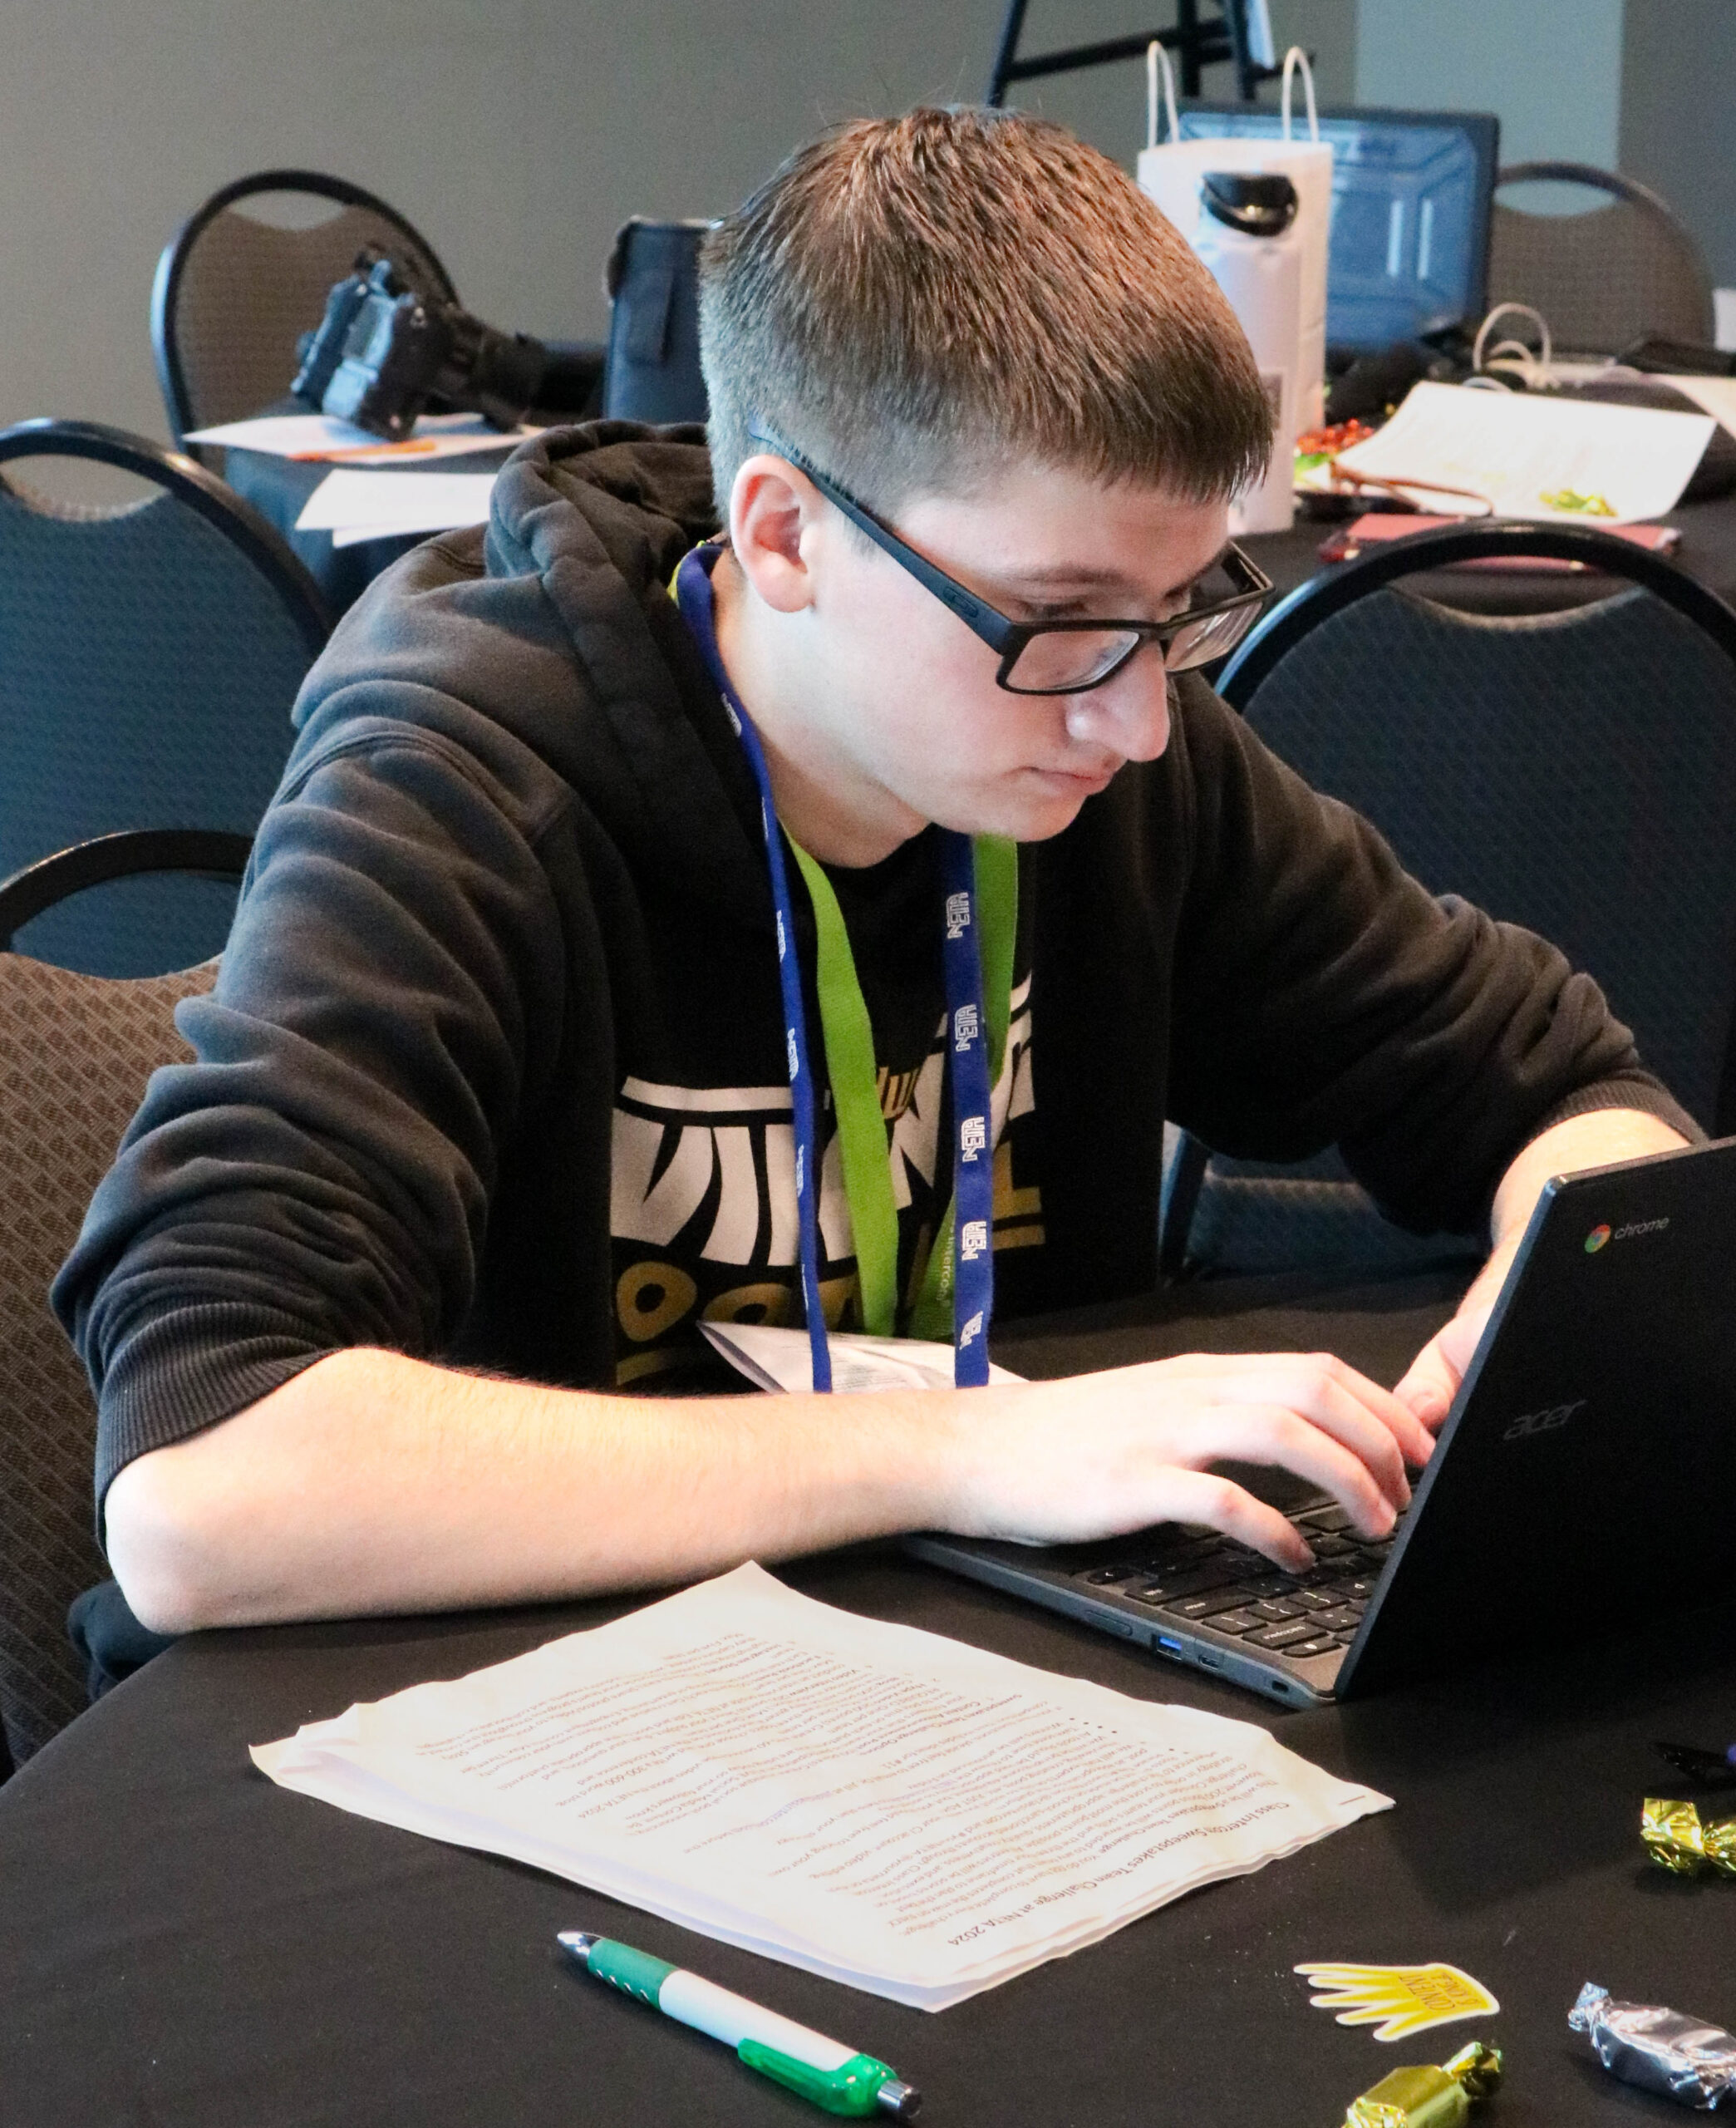
The following is a first-person perspective on creating graphics for social posts created by Braden, a high school student content creator as part of a recent live student contest. At Class Intercom, we’re passionate about empowering content creators to learn new skills and evolve existing ones. That includes formal instruction in the classroom, learning by doing, and experimenting with tools and ideas. The next step is sharing that knowledge with others. The Insights from Student Content Creators series allows students to share their knowledge and experiences with a global audience.
Checking & Editing
Now that we have a good-looking post, let’s walk through a quick checklist for potential edits.
1. What’s our background?
We have a cool background picture that highlights the beautiful new lights at Viking Field.
2. How are our readers going to be informed?
We have the game information, highlighting the fact that it’s a homecoming game, and where and when the game is taking place.
Opportunities for students like Braden to create social media content help them develop design and media skills as they learn to cover various school events in a way that keeps the school community informed.
3. Are both schools shown on the post?
We added the logos of the two teams participating in a big enough way to perfectly represent the schools, but not too big to keep the focus on the background picture.
4. What will further entice fans to come to this game or tune into the social media feed?
We added the records and rankings of both teams, signifying to our followers why they need to come support or keep up on the social media feeds for scoring updates.
5. Is everything correct?
Do we have everything spelled correctly? Do we have the schools represented correctly? Is this going to grab the attention of the common social media passer by?
This post answers these questions well. Everything is double-, even triple-checked by me and is shown around to the other creators for opinions.
Scheduling & Submitting for Approval
Now, I have looked over the post, and it has everything needed to inform the reader in addition to using special creativity to make a splash on our social media account. Now, it’s time to bring the graphic over to Class Intercom to add a caption, schedule, and submit it for approval before it’s officially posted to all our social media platforms.
A Process that Works
This is essentially the process I use to make graphics in Canva for our school social media posts. During the football season, I made up to four or five posts a week, showcasing games, our players, and our school. While I go through a very similar process every time I make a post, every post is unique and always well thought-out. Using these steps, you can easily start making good content for your sporting teams and school.

About the Author
Braden Horst
Braden Horst is a senior at Grand Island Northwest High School, where he serves as President of Social Media Content and has been a student content creator using Class Intercom for two years. After graduation, Braden plans to continue his education at Nebraska Wesleyan University.
This story is part of a series called Insights from Student Content Creators. If you know a student, educator, or community member with a skill or story to share about the power of content and storytelling, send them our way! Amplifying student voices and sharing authentic stories is at the core of who we are. Drop us a line and let’s get in touch.
