Ever create a post on social media and notice it does not get attention? Here is a guide to a successful post.
Step 1: Determine Target Market
The first step is to determine your target market. Your target market is the people you want your post to reach and gain attention from. Here, you want to think about your design and what you want to incorporate in your post.
Step 2: Build a Brand Kit
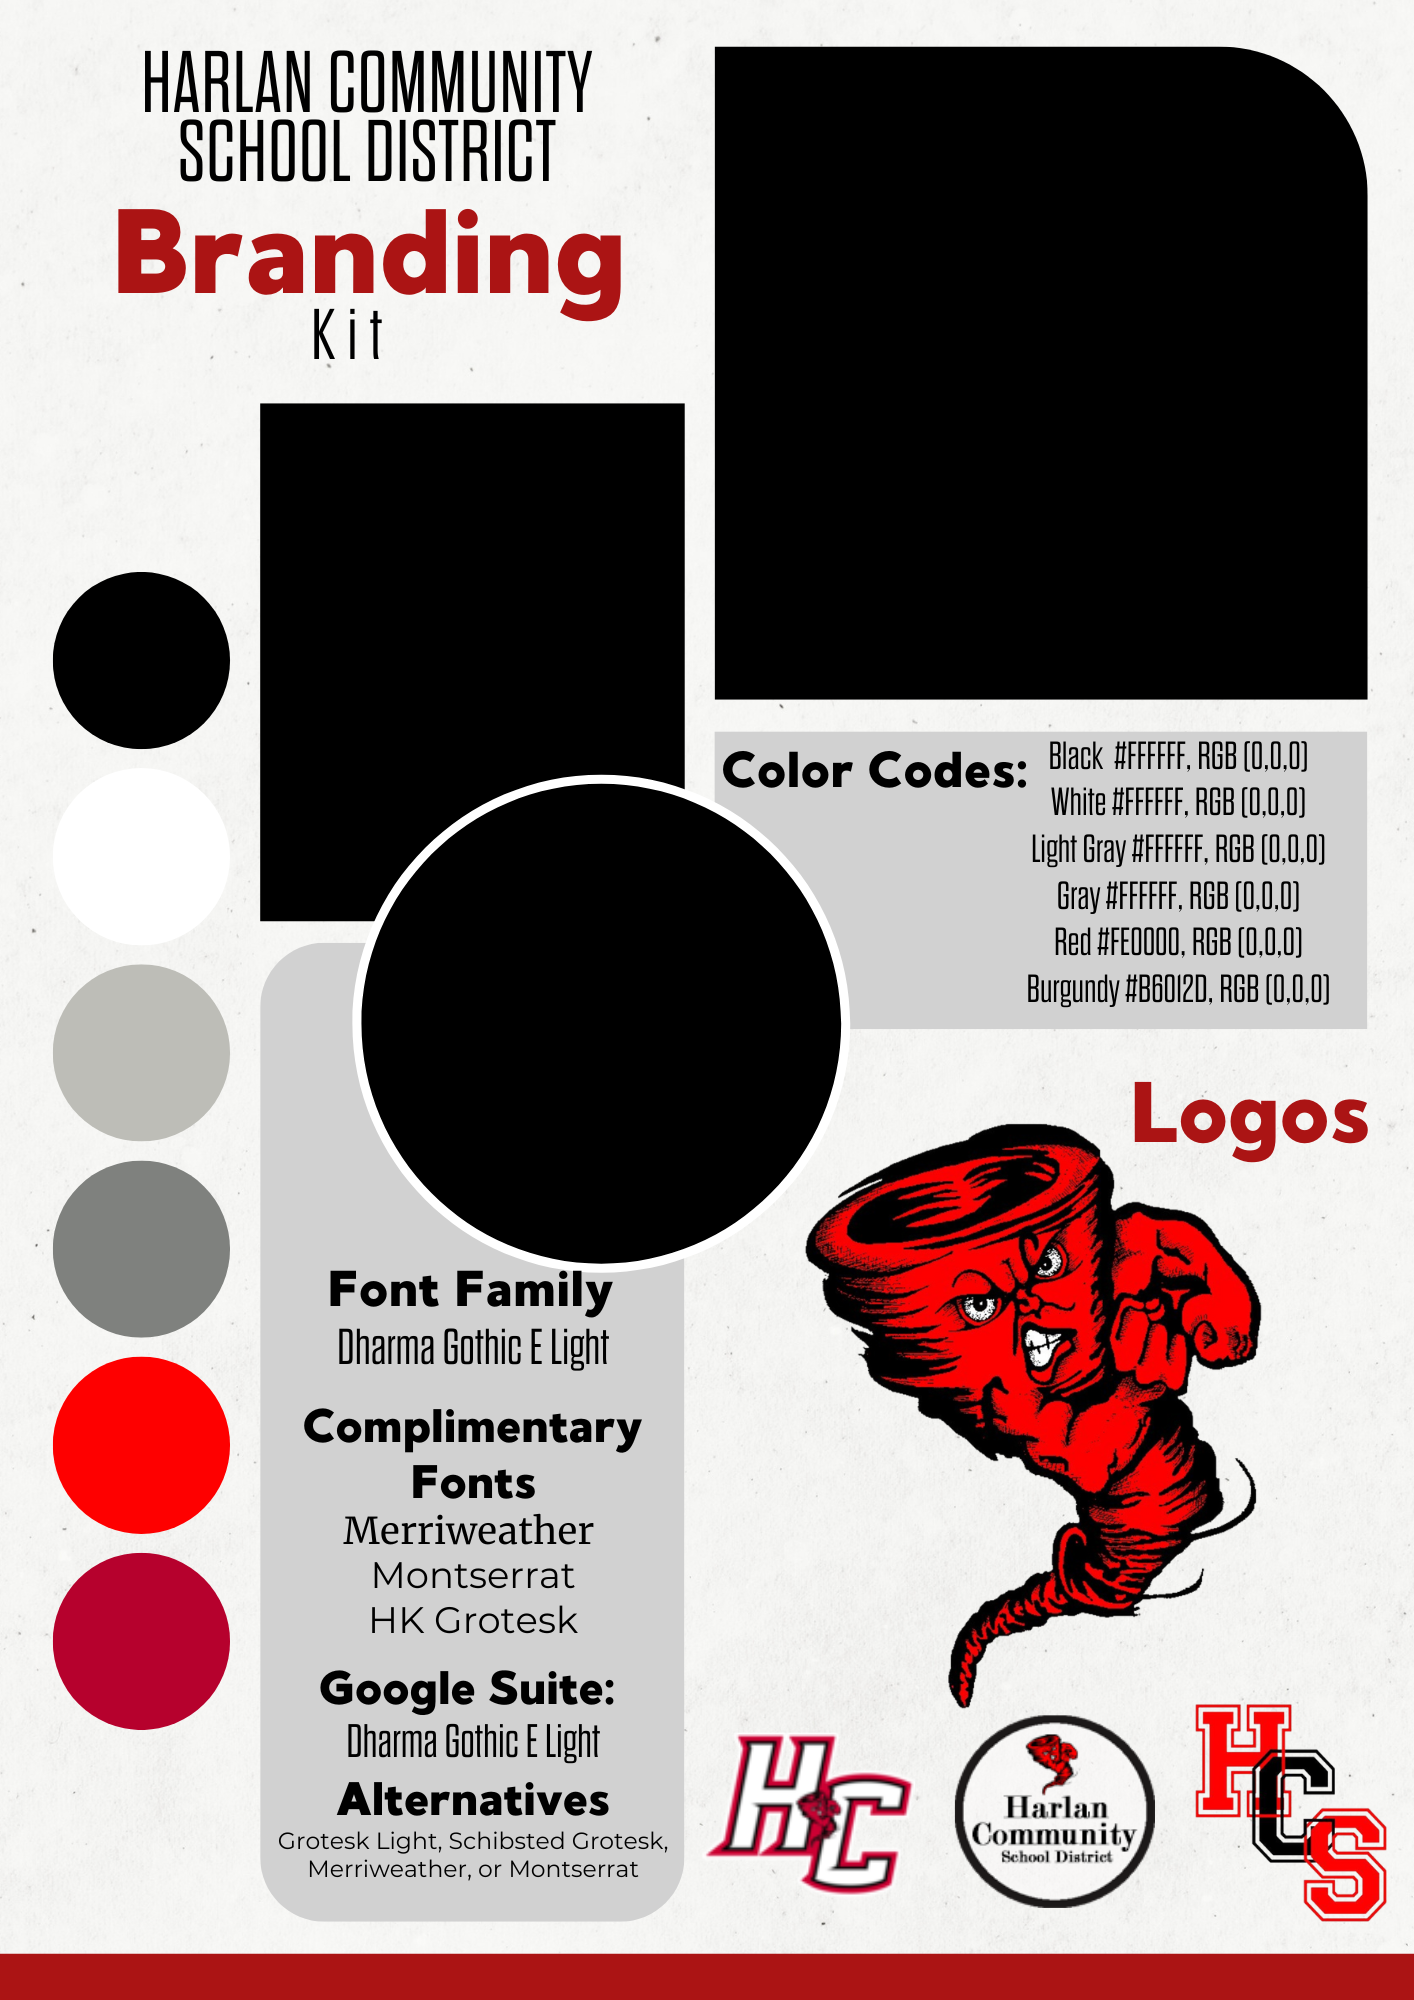
Your next step is to put together a brand kit. A brand kit is the font, colors, and images you use to promote your school, product, or brand in general. When making a brand kit, you want to make sure the fonts you use can be found on multiple platforms as well as the colors and images. If they are not easily available, look for similar options that are. Below is an example of a branding kit. In this example, you will notice the fonts and colors complement each other. This helps with the overall image of your brand. The logos of your brand or school should also be included within a brand kit.

Editor’s Note:
This piece is a step-by-step guide written by Caitlin Ryan, a student content creator from a public high school in Nebraska. At Class Intercom, we’re passionate about empowering student content creators to learn new skills and evolve existing ones. That includes formal instruction in the classroom, learning by doing, and experimenting with tools and ideas. The next step is sharing that knowledge with others. The Insights from Student Content Creators series allows students to share their knowledge and experiences with a global audience.
Step 3: Create a Post
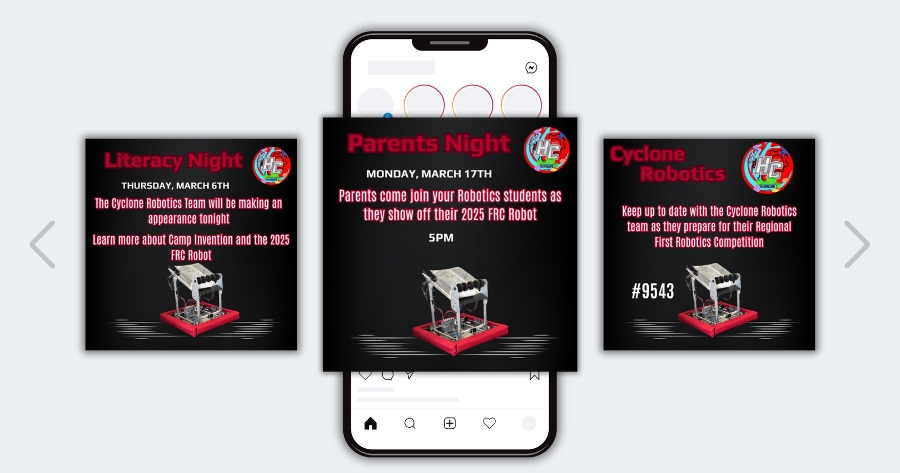
The third step is to design the post. When designing, be sure to make a post long enough to get the message across, but short enough that it is not a giant paragraph. Important information should be the most visible part of your post, like dates and times. Make these bold or maybe a different color than the rest of the information.
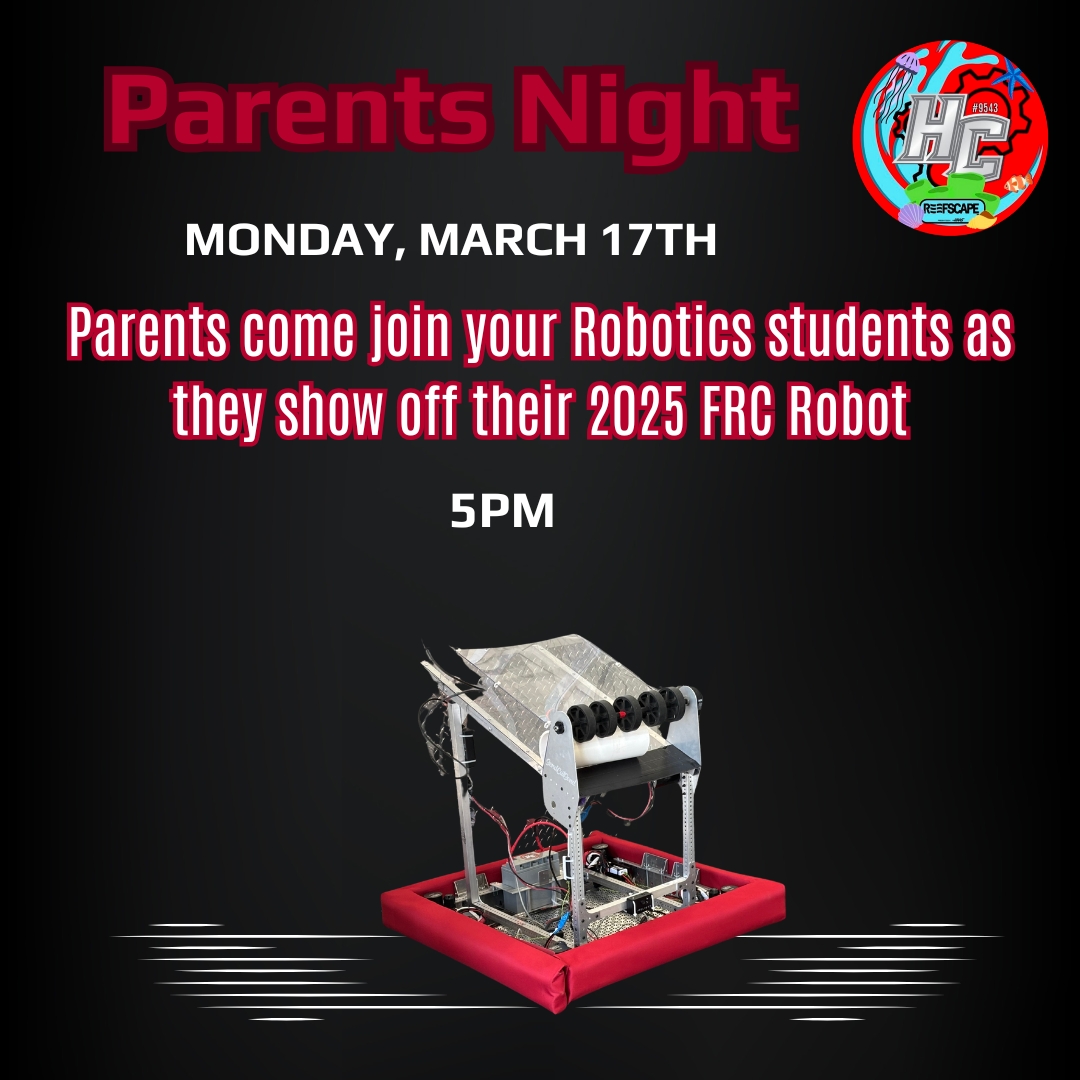
In the post shown here, I was promoting my school’s parent night for the robotics team. I used my school’s brand kit for the fonts and colors in the post. In order to emphasize that parents should come to the event, I added a text font to make it stand out. I also used a different font for the name of the event for more emphasis. This post includes the robotics team logo, which is part of their brand, as well as a photo of their robot to show that it is for the robotics team.

Step 4: Schedule the Post
Once you have edited the post to your liking, it is time to schedule it. Consider choosing a day where nothing else is scheduled in order to get more attention. If it is a planned event with a set time, post it a few days in advance so people can prepare, followed by another post the morning of the event.
About the Author
Caitlin Ryan
Caitlin is a senior at Harlan Community High School in Harlan, Iowa, where she took a marketing class that sparked her interest in creating social media content for school events. This year, she increased her involvement by producing content for the district’s elementary school, collaborating closely with both staff and administrators. In the fall, Caitlin will attend the University of Nebraska as an honors student, pursuing a degree in secondary education. She also plans to minor in Japanese and marketing.
This story is part of a series called Insights from Student Content Creators. If you know a student, educator, or community member with a skill or story to share about the power of content and storytelling, send them our way! Amplifying student voices and sharing authentic stories is at the core of who we are. Drop us a line and let’s get in touch.